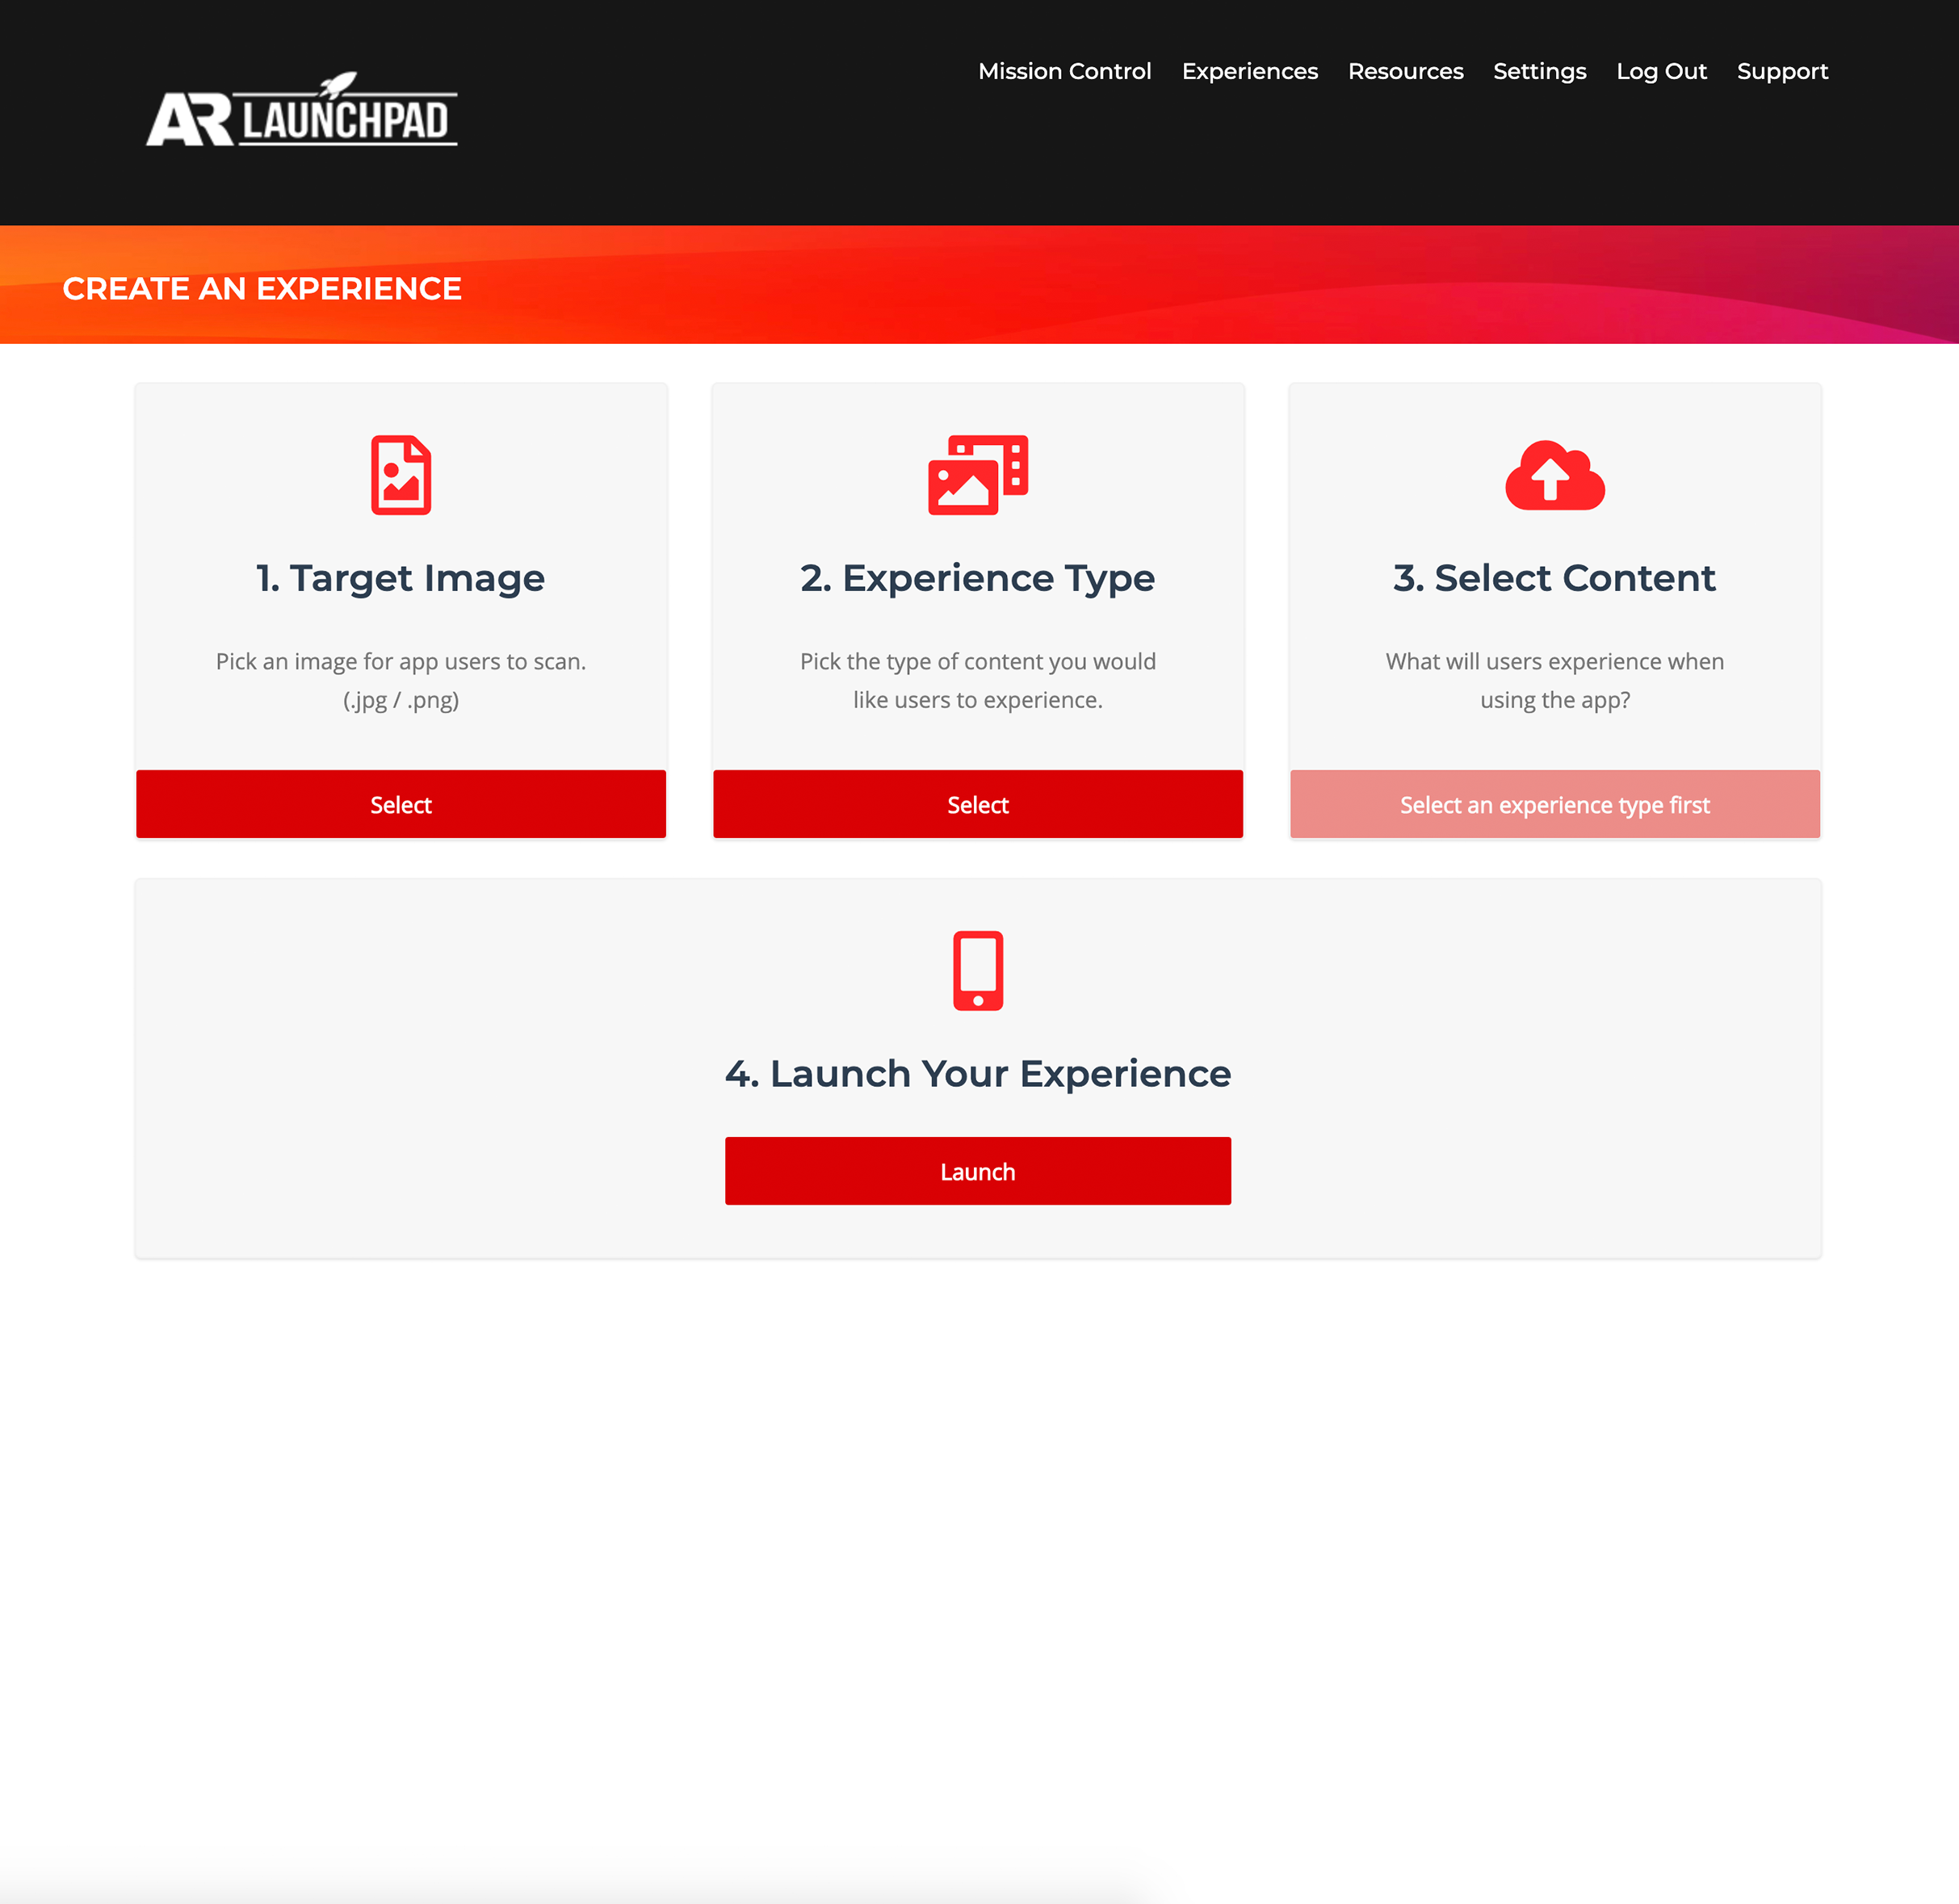
Your first step in creating a project is setting what image file you want app users to scan so they can experience your content.
After setting your target, the next step will be to select the kind of experience you want users to have. This can be playing videos, showing photos, having clickable links, or other options, depending on your plan.
After your experience type is set, add in your content based on the type of project you're creating:
For link, email, or phone projects, simply type or paste in the http or https URL you want users to be sent to. Additionally, you can choose the text that will appear on the button, and choose the colors for the button, border, and text.
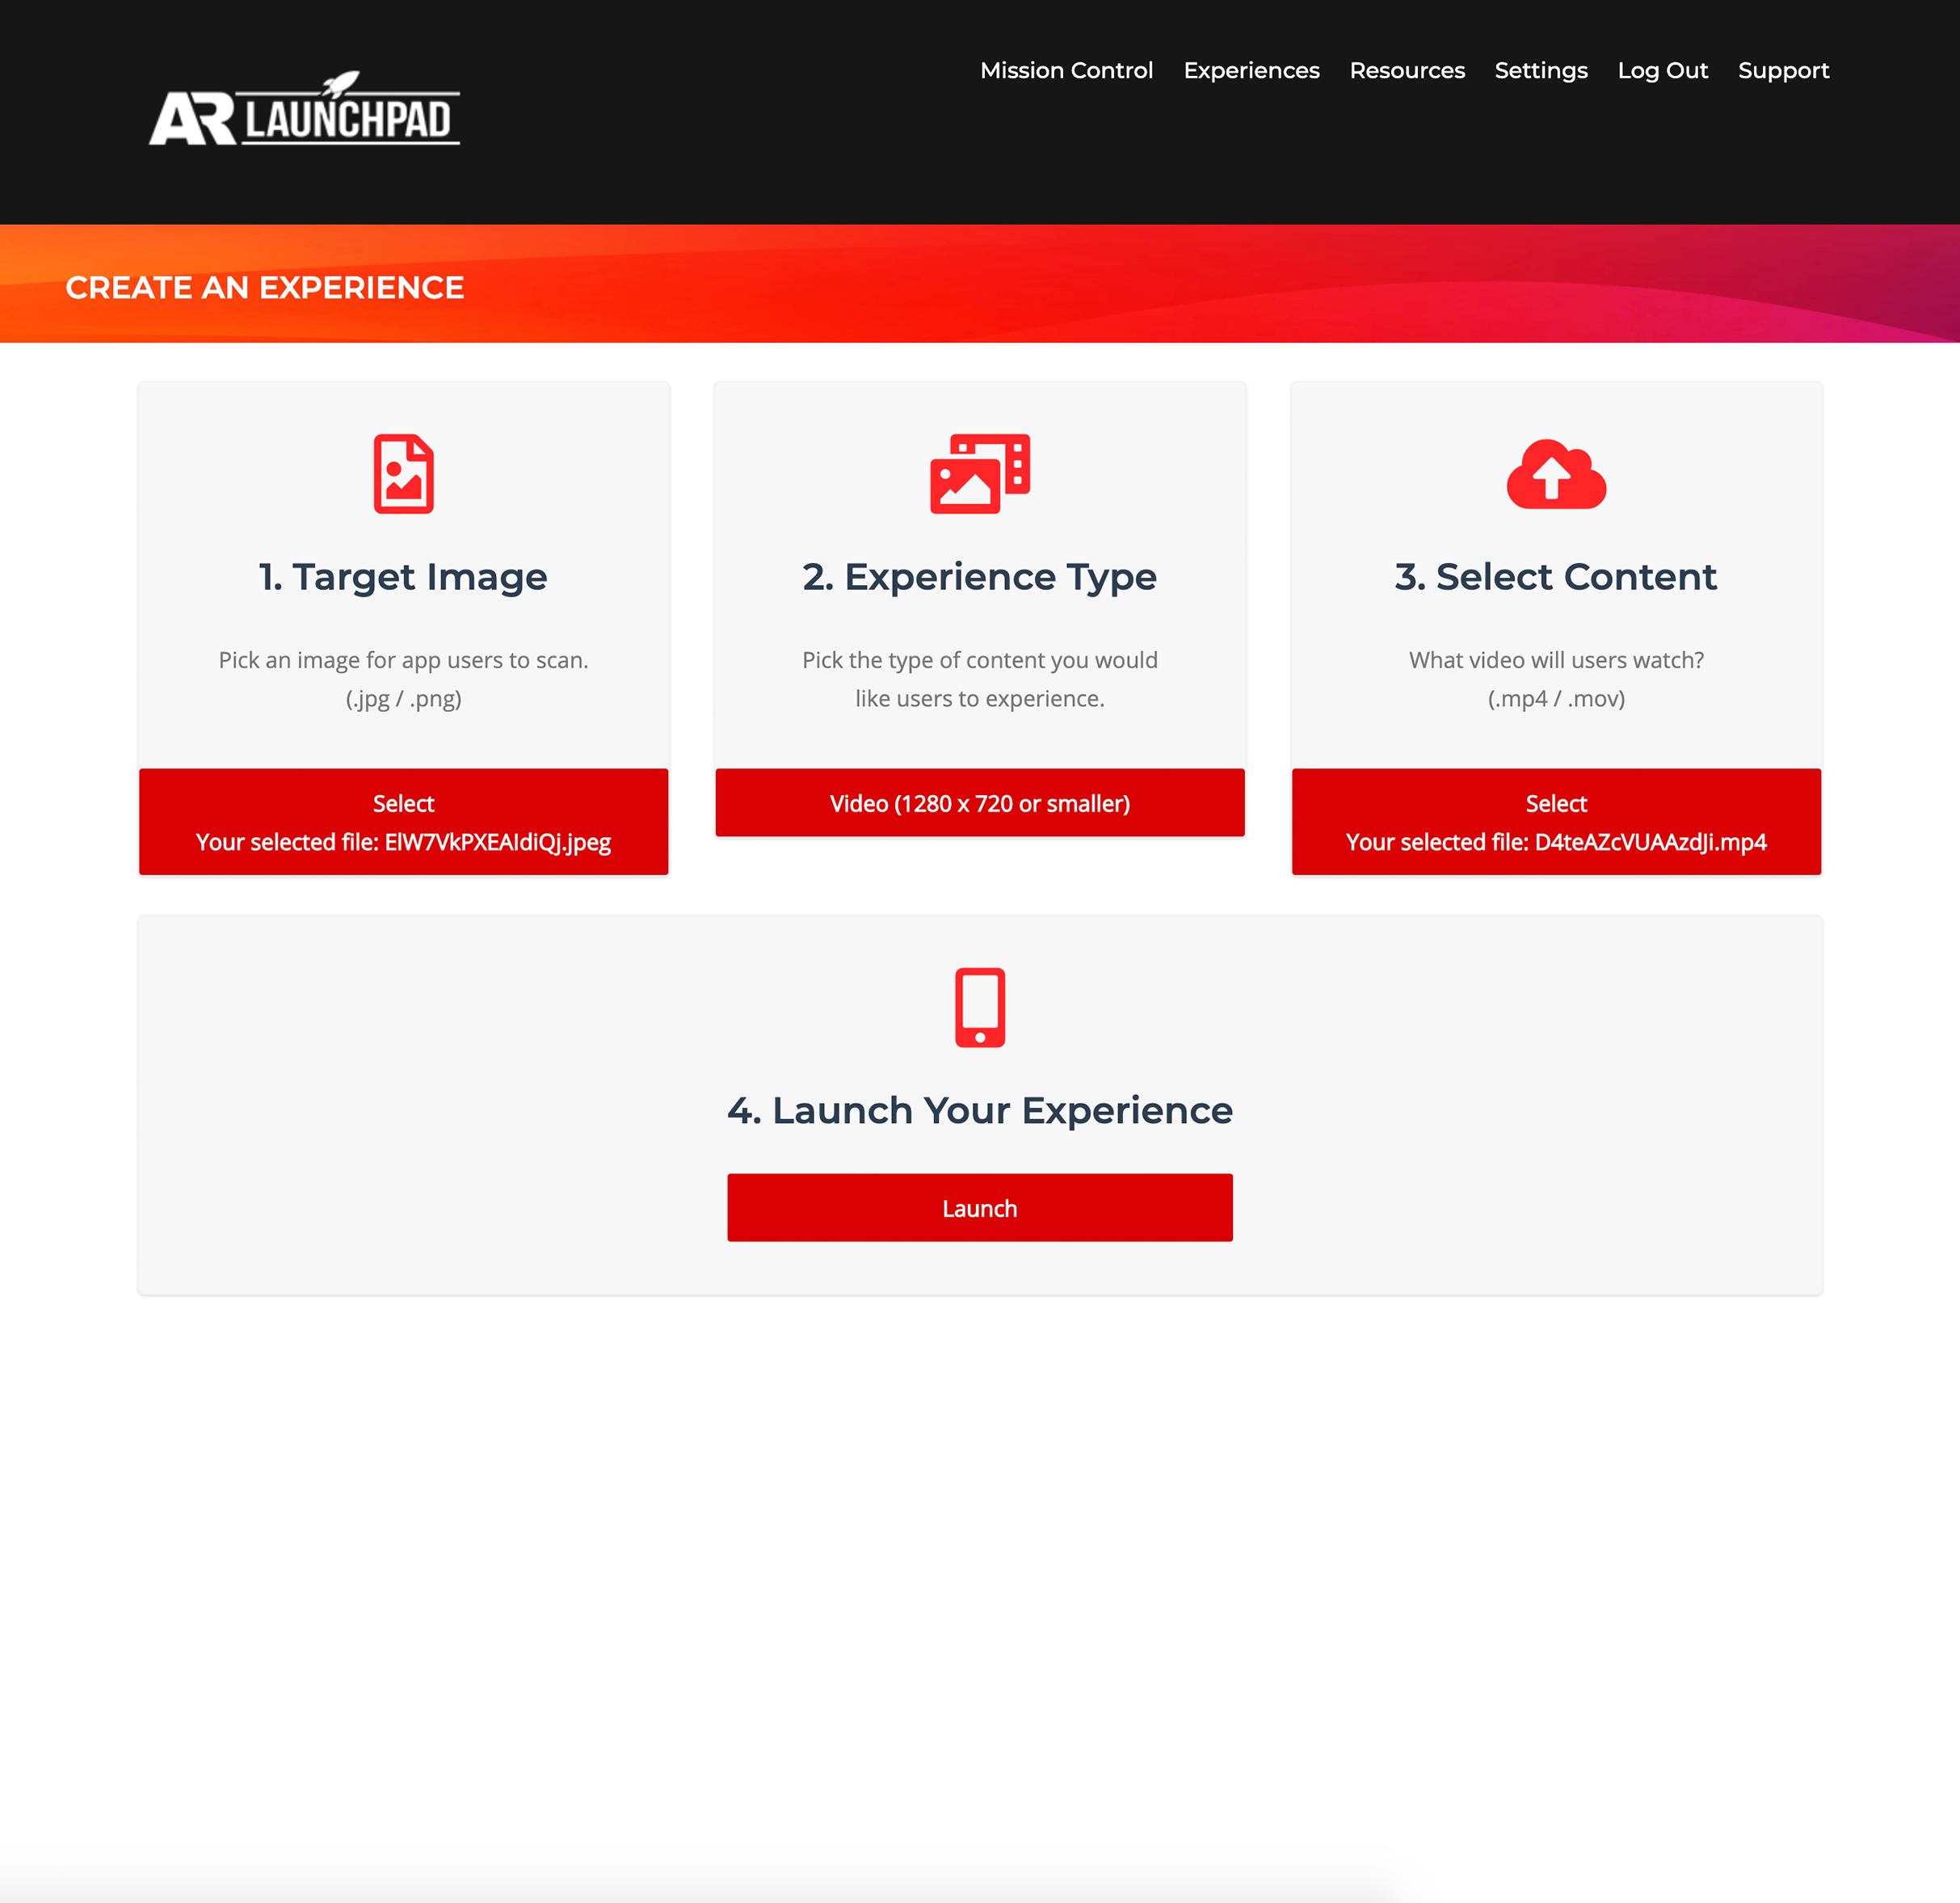
For other projects, click the file uploader button and select the audio, photo, or video you want users to see.

Once you're satisfied with the project, simply click the Launch button and, once uploading has finished, your experience will be live on the app.